Rent or Buy
Some of us photographers don’t have the “capital” to be able to purchase all the gear that we want. We have our one camera body, several lenses, and some other equipment – a few flashes, stands, and a handful of memory cards. But to get professional shots at specific events, such as a wedding, you need professional weapons and know how to use them. Am I ready to purchase a Nikon D7000 ($1,200 MSRP), a Nikon 70-200mm f/2.8 VR II ($2,400), and a Nikon 85mm f/1.4 ($1,700)? No way – especially since I don’t do enough paid photography to get a good ROI (return on investment) from said purchases. I’m at that point where I could only justify improving the gear I own if I were to start marketing myself in order to book more shoots. So instead of buying the gear I need, here’s a little secret. Okay, it’s not really a secret, but websites such as LensRentals.com, BorrowLenses.com, and LensProToGo.com come in really handy in these situations. You can rent pretty much anything you need from them, use it for the allotted time, and then ship it back when your rental period is up. Last time I rented, I used LensRentals, but this time I chose to use BorrowLenses since their prices are cheaper. I’ll get to use all three of the items above ($5,300 MSRP) for 4 days. Total cost including shipping was right around $200.
The point of this post is this: renting gear can be a good option. Even if you don’t have an event to shoot; if you simply want to give a camera body a test run; if you’ve always wanted to create a really cool fisheye image; or if you’re not a photographer yet and you want to shoot with a friend who is – try renting some gear!
Also, as a bonus, I wanted to post an image for your viewing pleasure that has nothing to do with this post: the Tower of London in (moderate) HDR. Processed with Photomatix Pro and Lightroom. Thanks for reading!
Bloom: Before and After
I PROMISE that Europe pictures are coming soon, but I couldn’t help myself with this one – it just needed more attention. The featured image for this post is titled “Bloom,” and it’s also featured in the previous blog entry. Bloom is one of those pictures I took, reviewed on my camera screen, and knew right away that I was going to love the final product. I also knew that what I saw on my camera screen wouldn’t be nearly the same as the final product. Normally, I don’t let everyone in on the behind-the-scenes stuff, but this time, I decided to do just that.
I use Adobe Lightroom pretty extensively to enhance every picture before I publicize it. Lightroom is an essential tool for importing picture files, selecting the photos I want to edit, publishing them, and creating archives of old “albums” of imported images. Most people think about Photoshop when they hear “editing photos,” but I haven’t touched Photoshop in months. IN FACT, I only have Photoshop Elements installed on my computer right now – not even a full version of Photoshop. Anyways, I used almost all the “weapons” in the Lightroom “arsenal” to get the final product just the way I wanted.
Zilker Botanical Garden
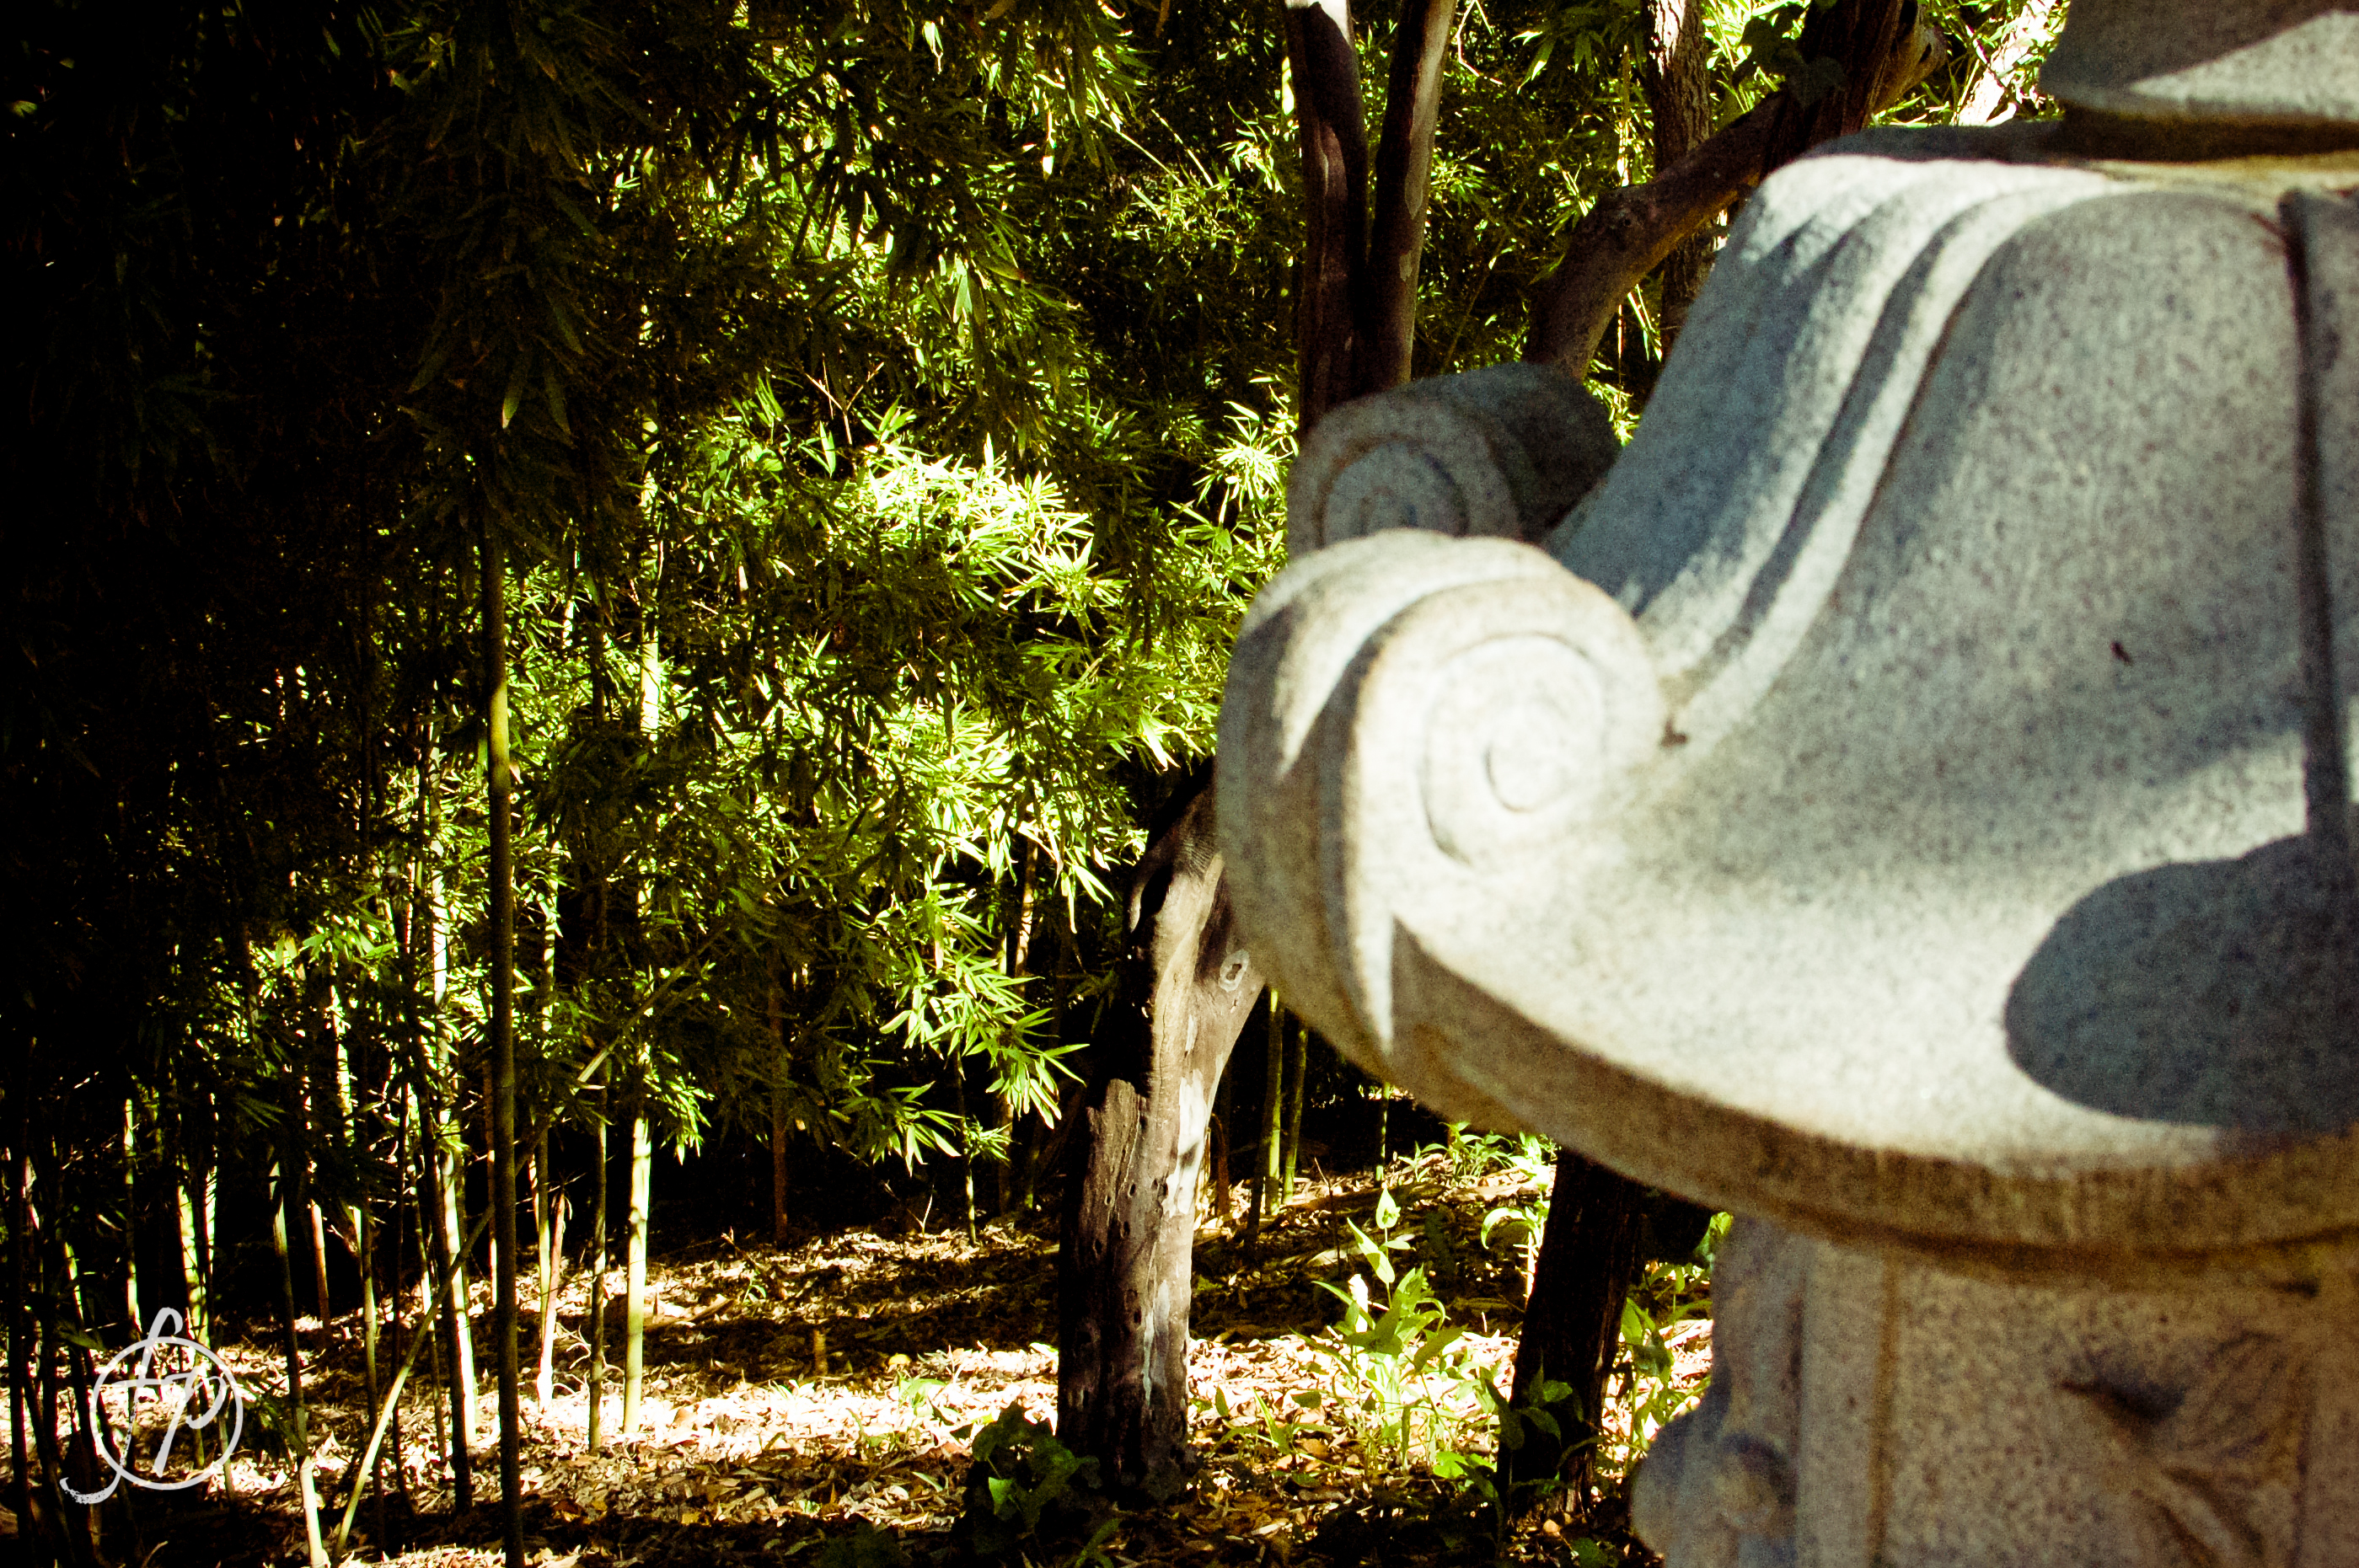
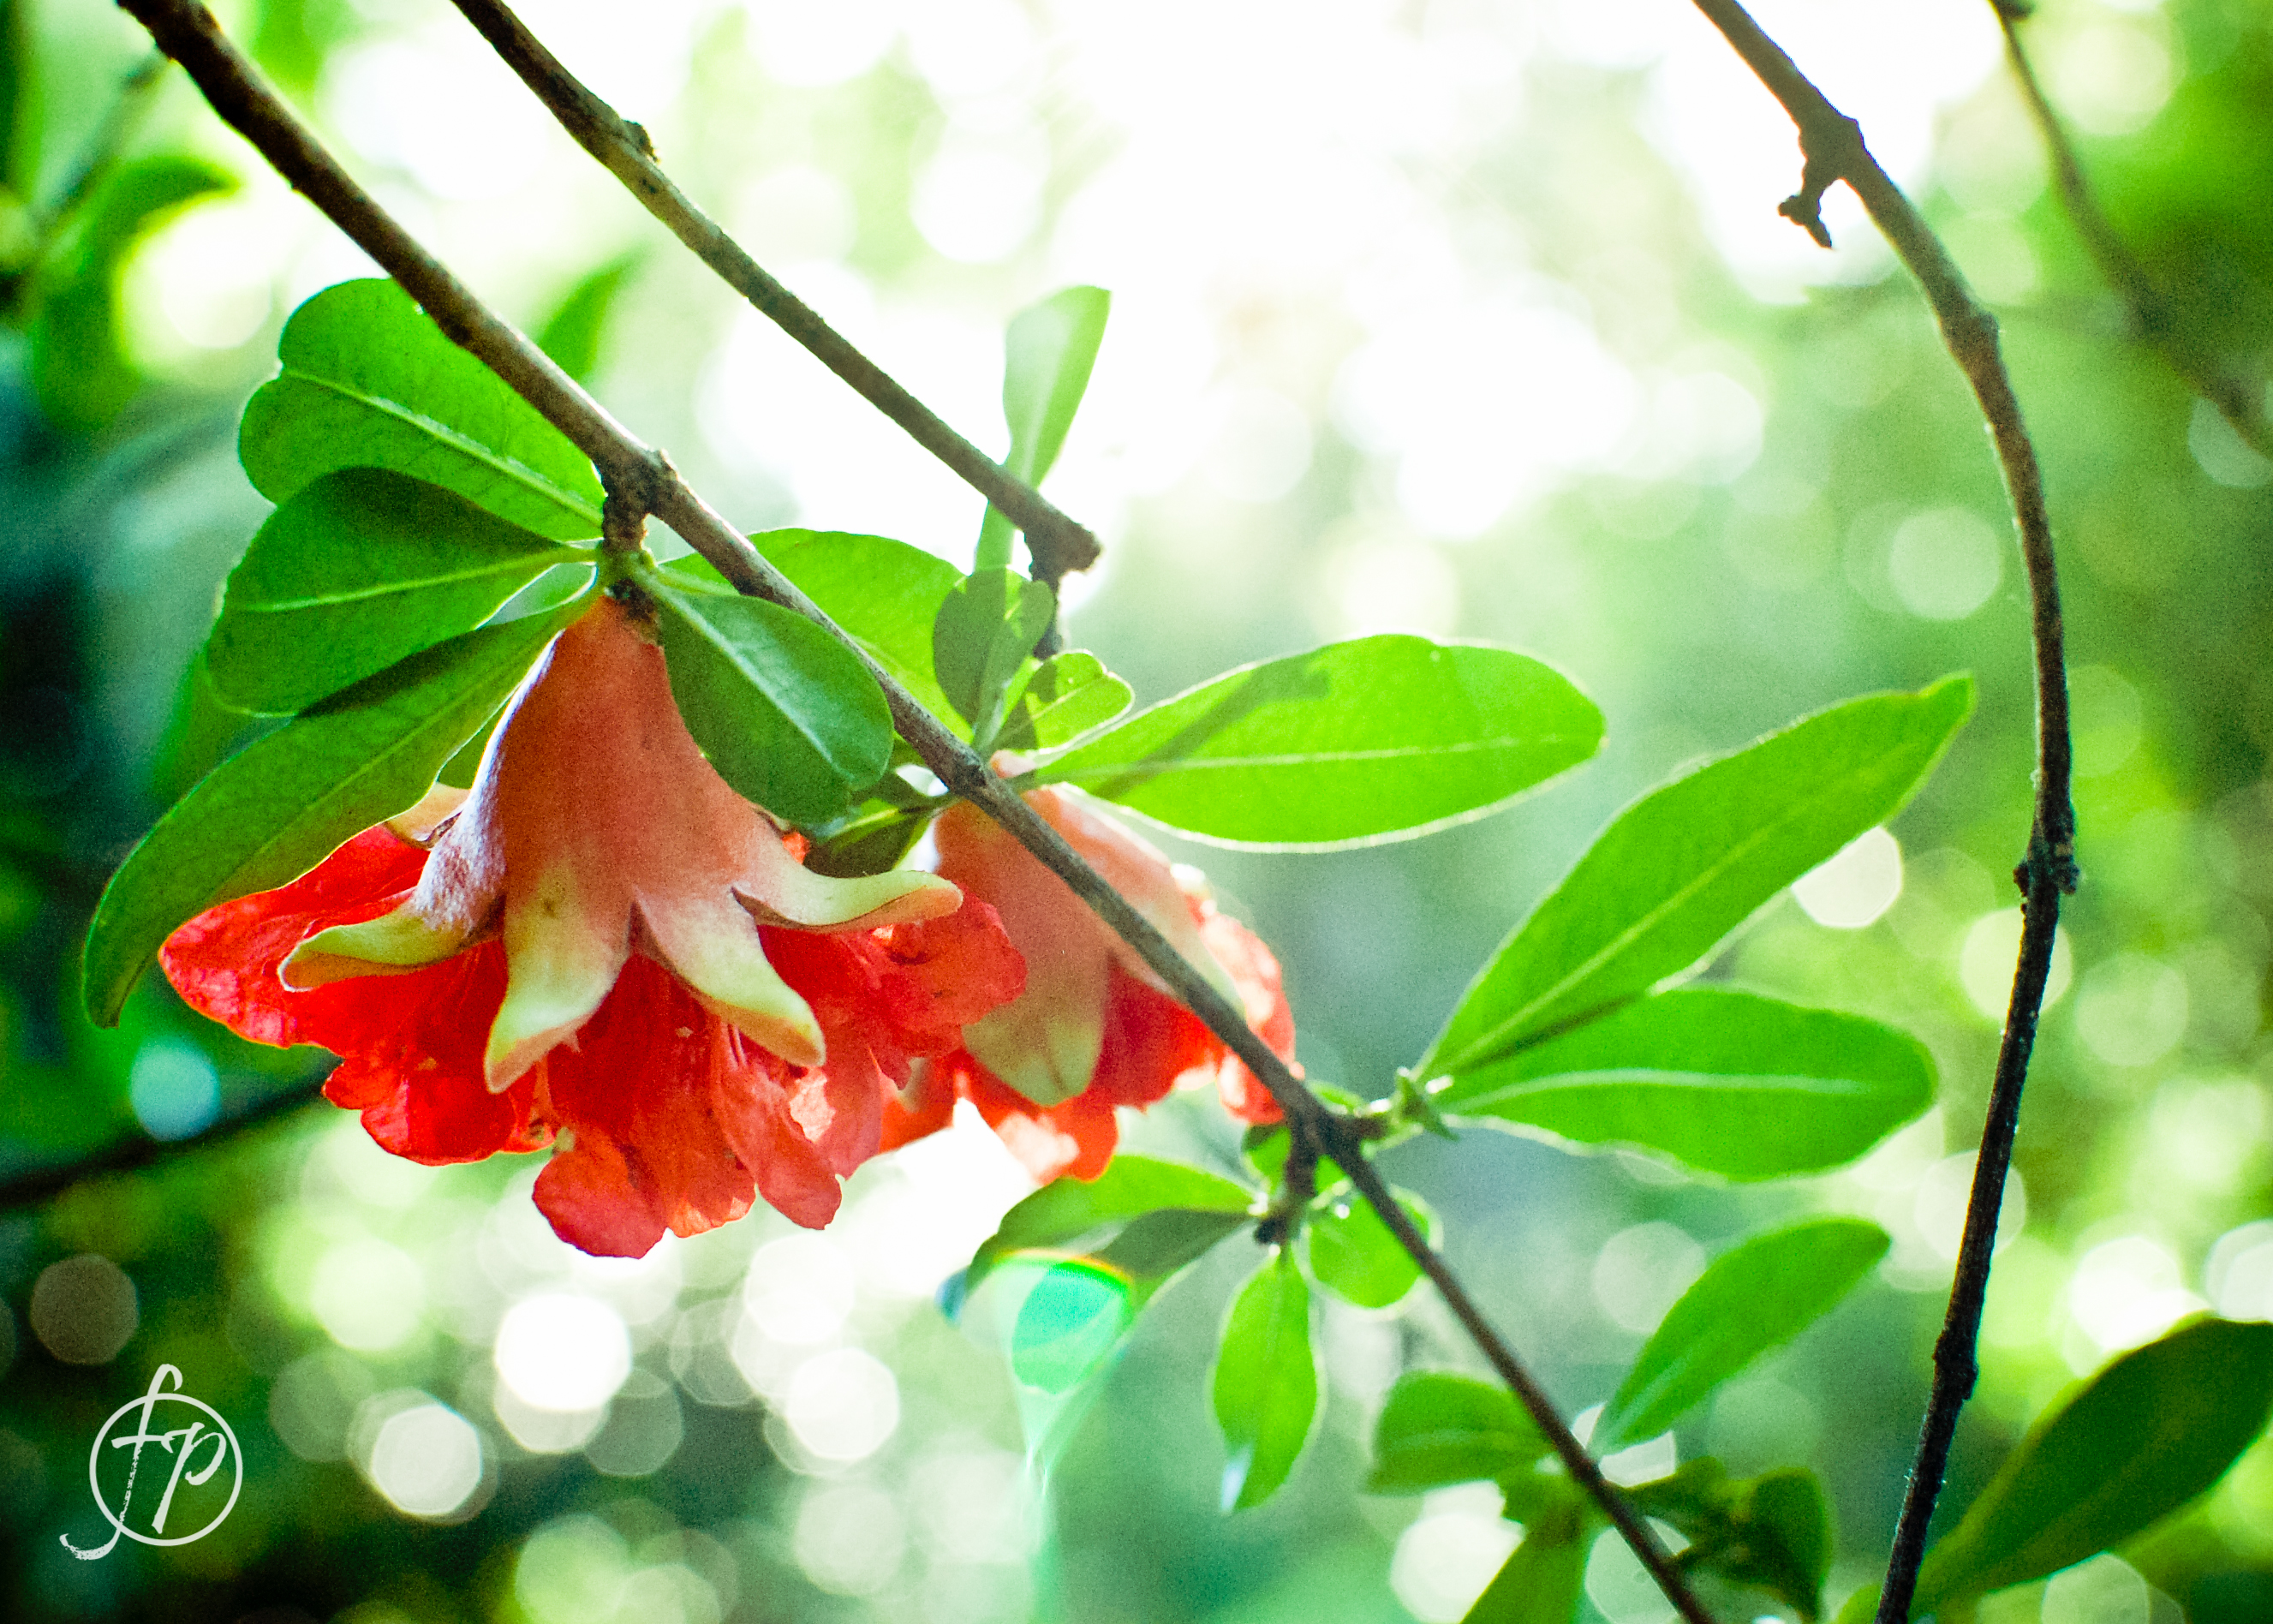
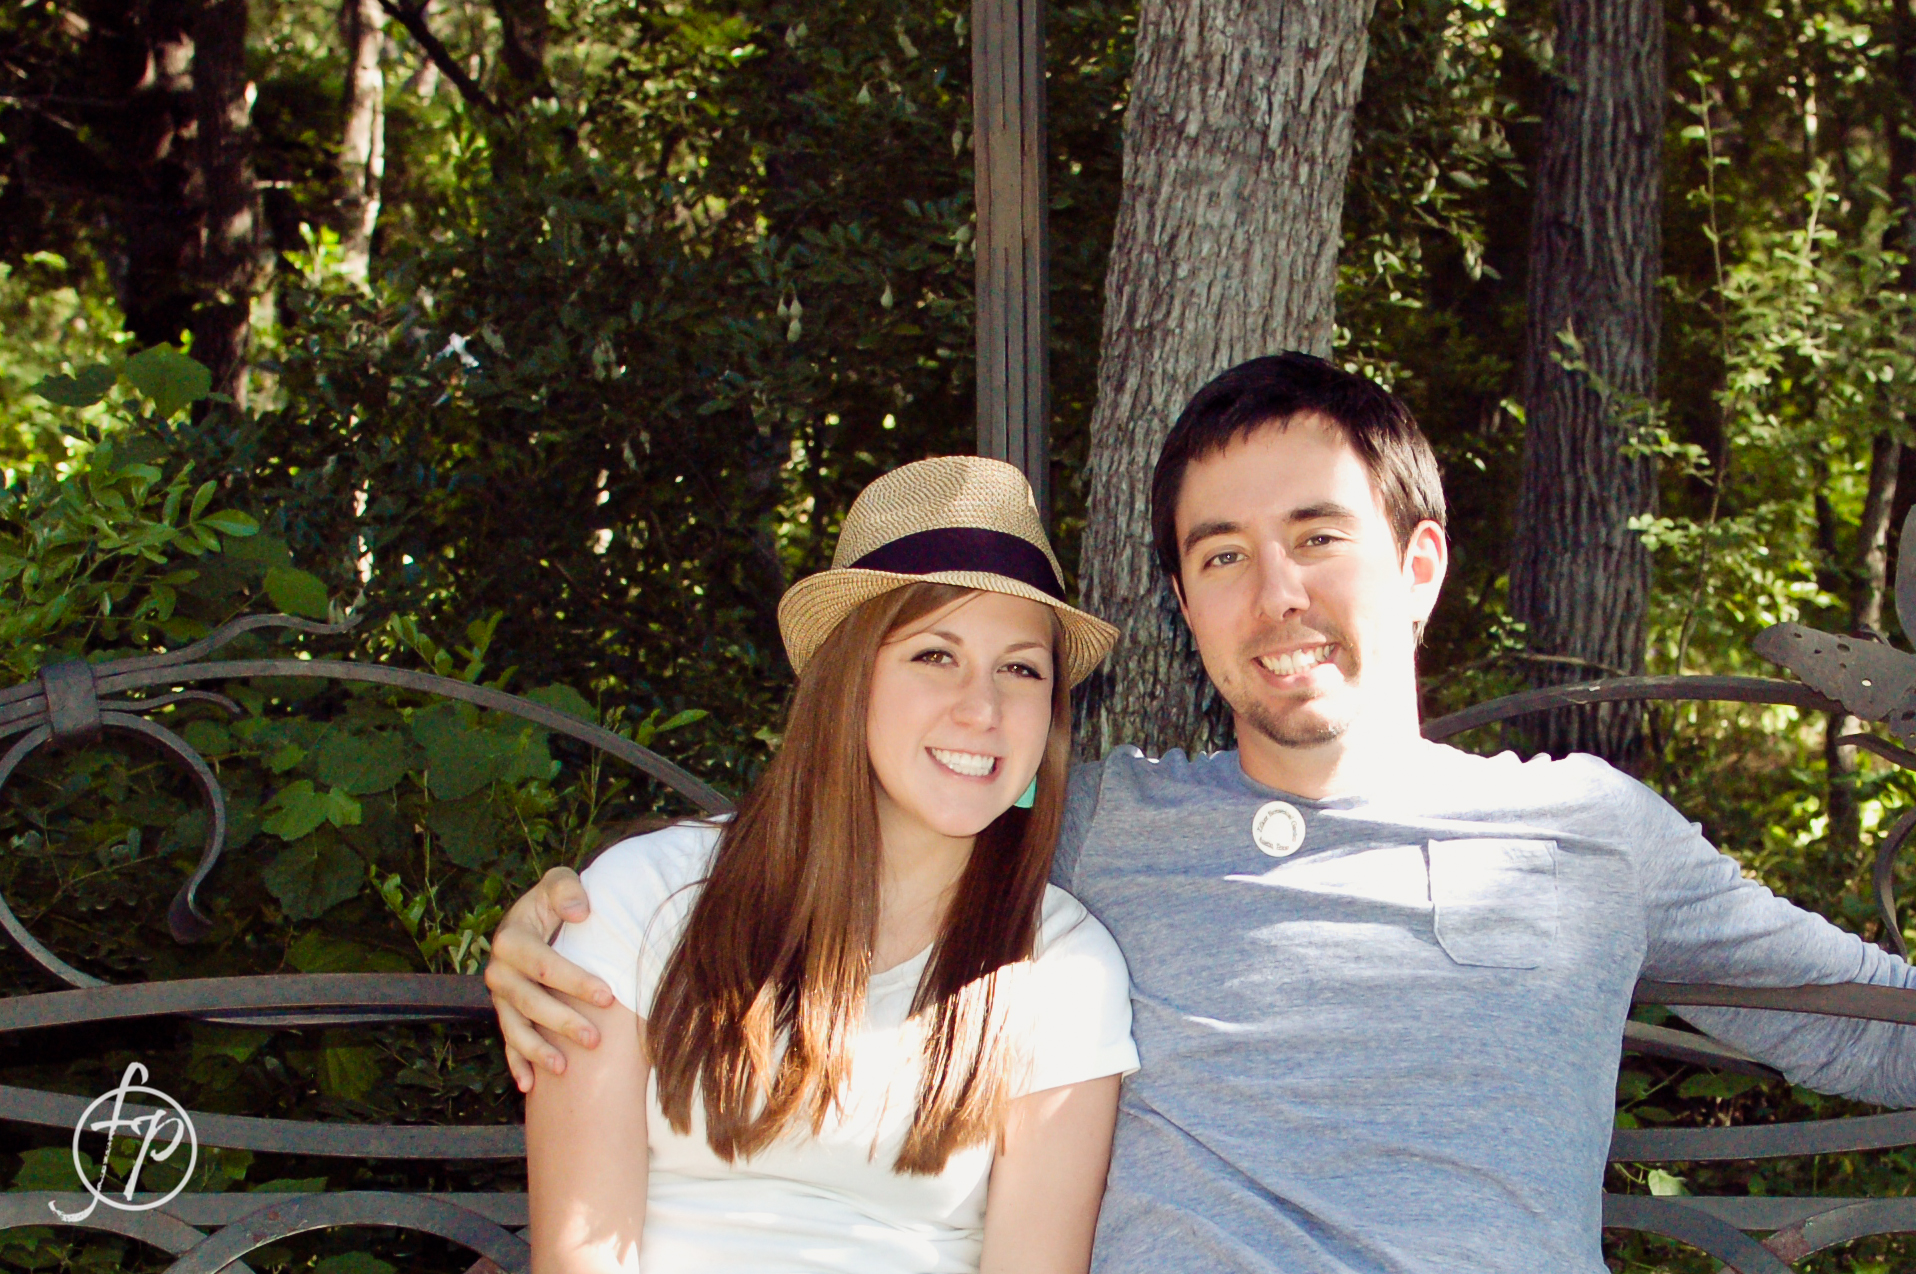
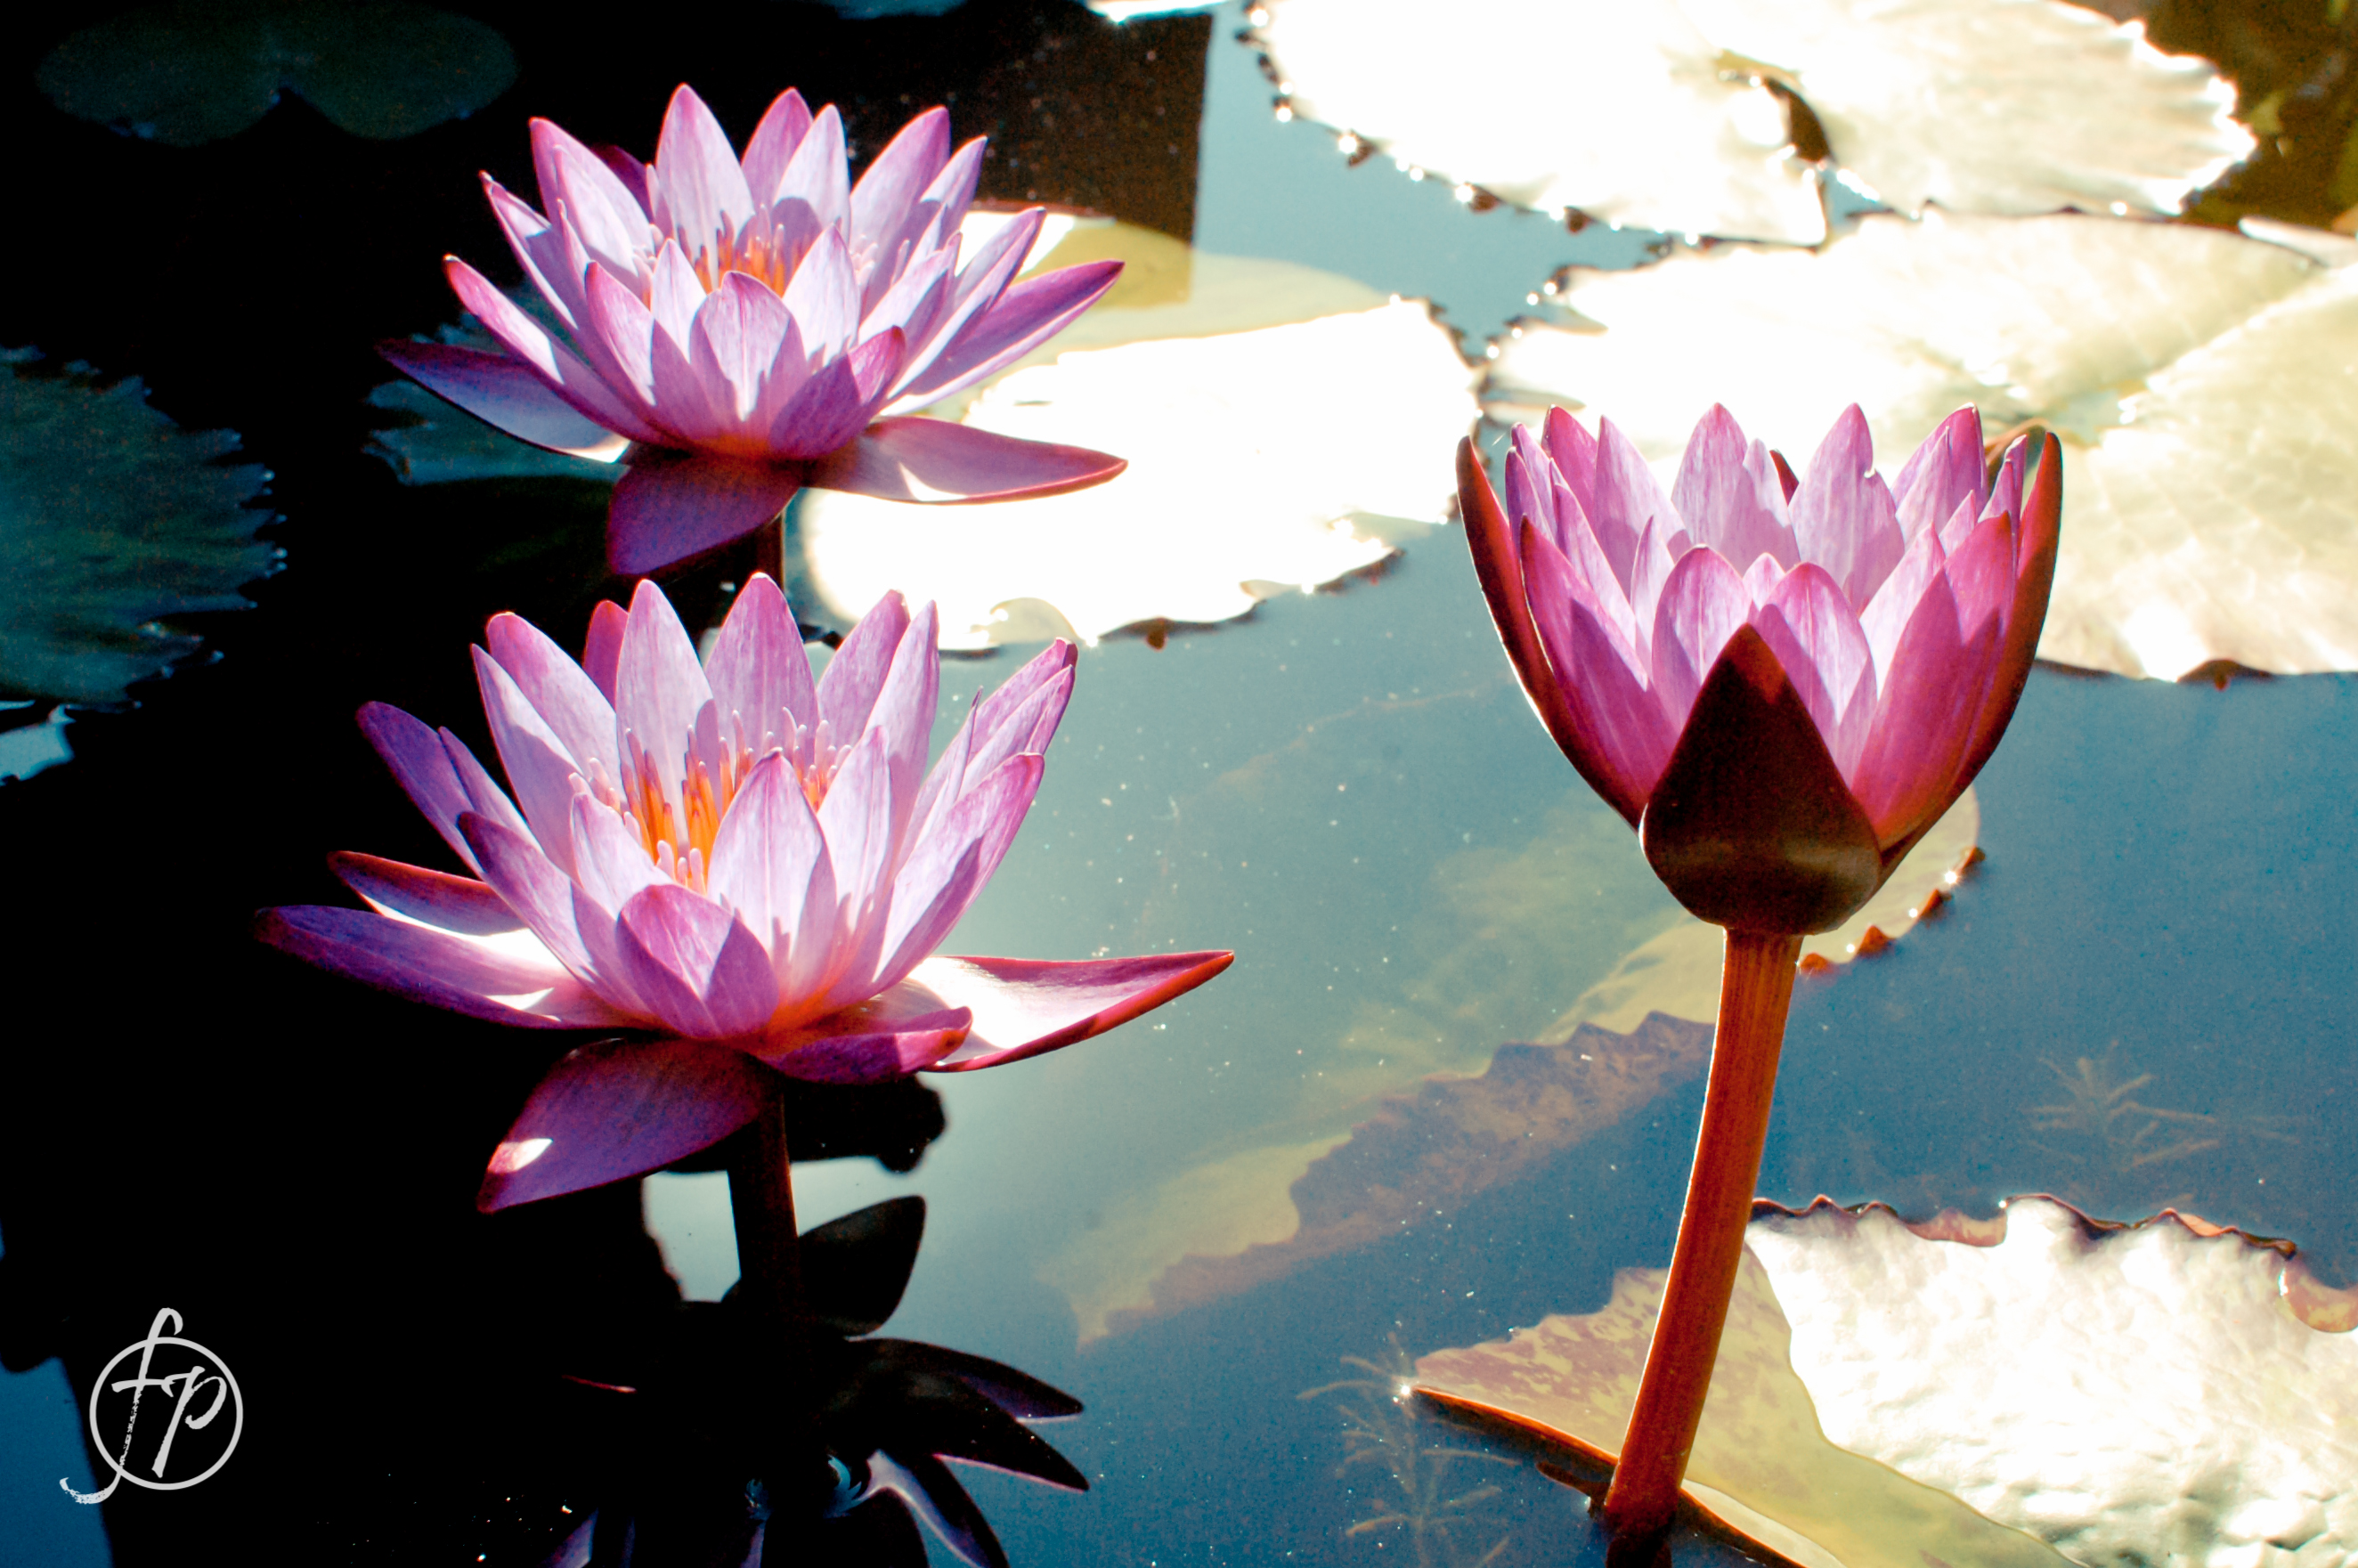
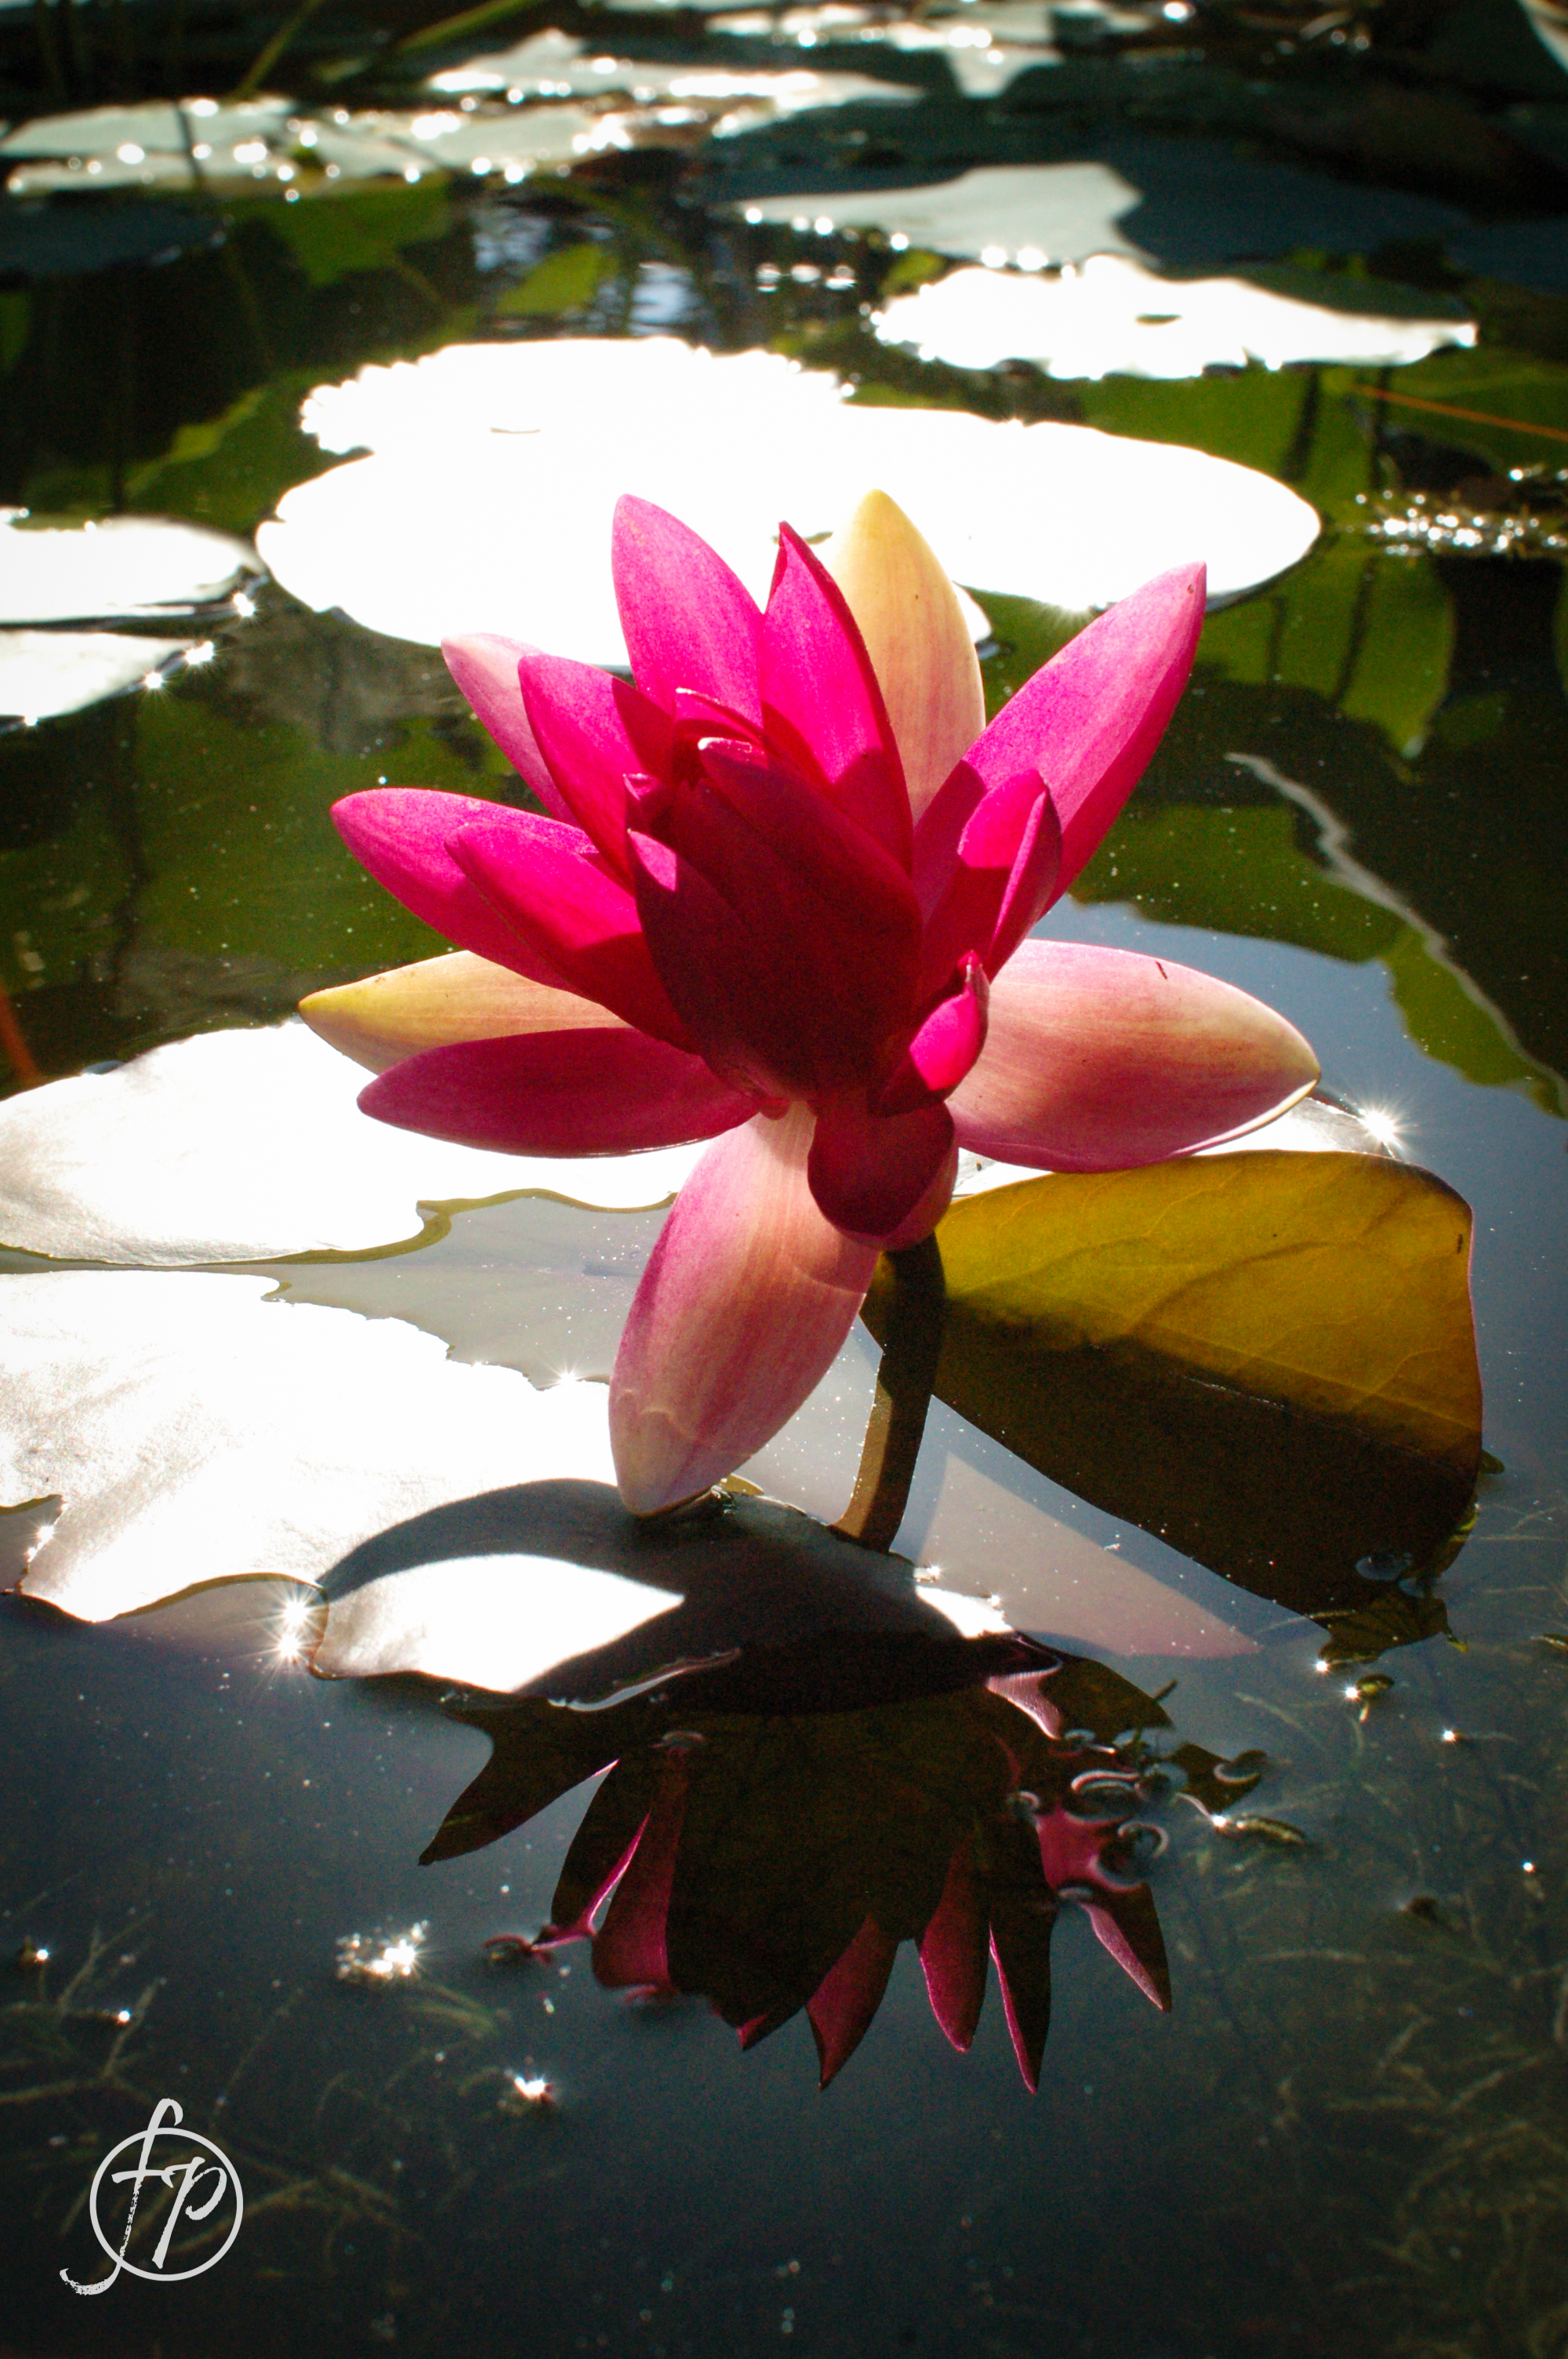
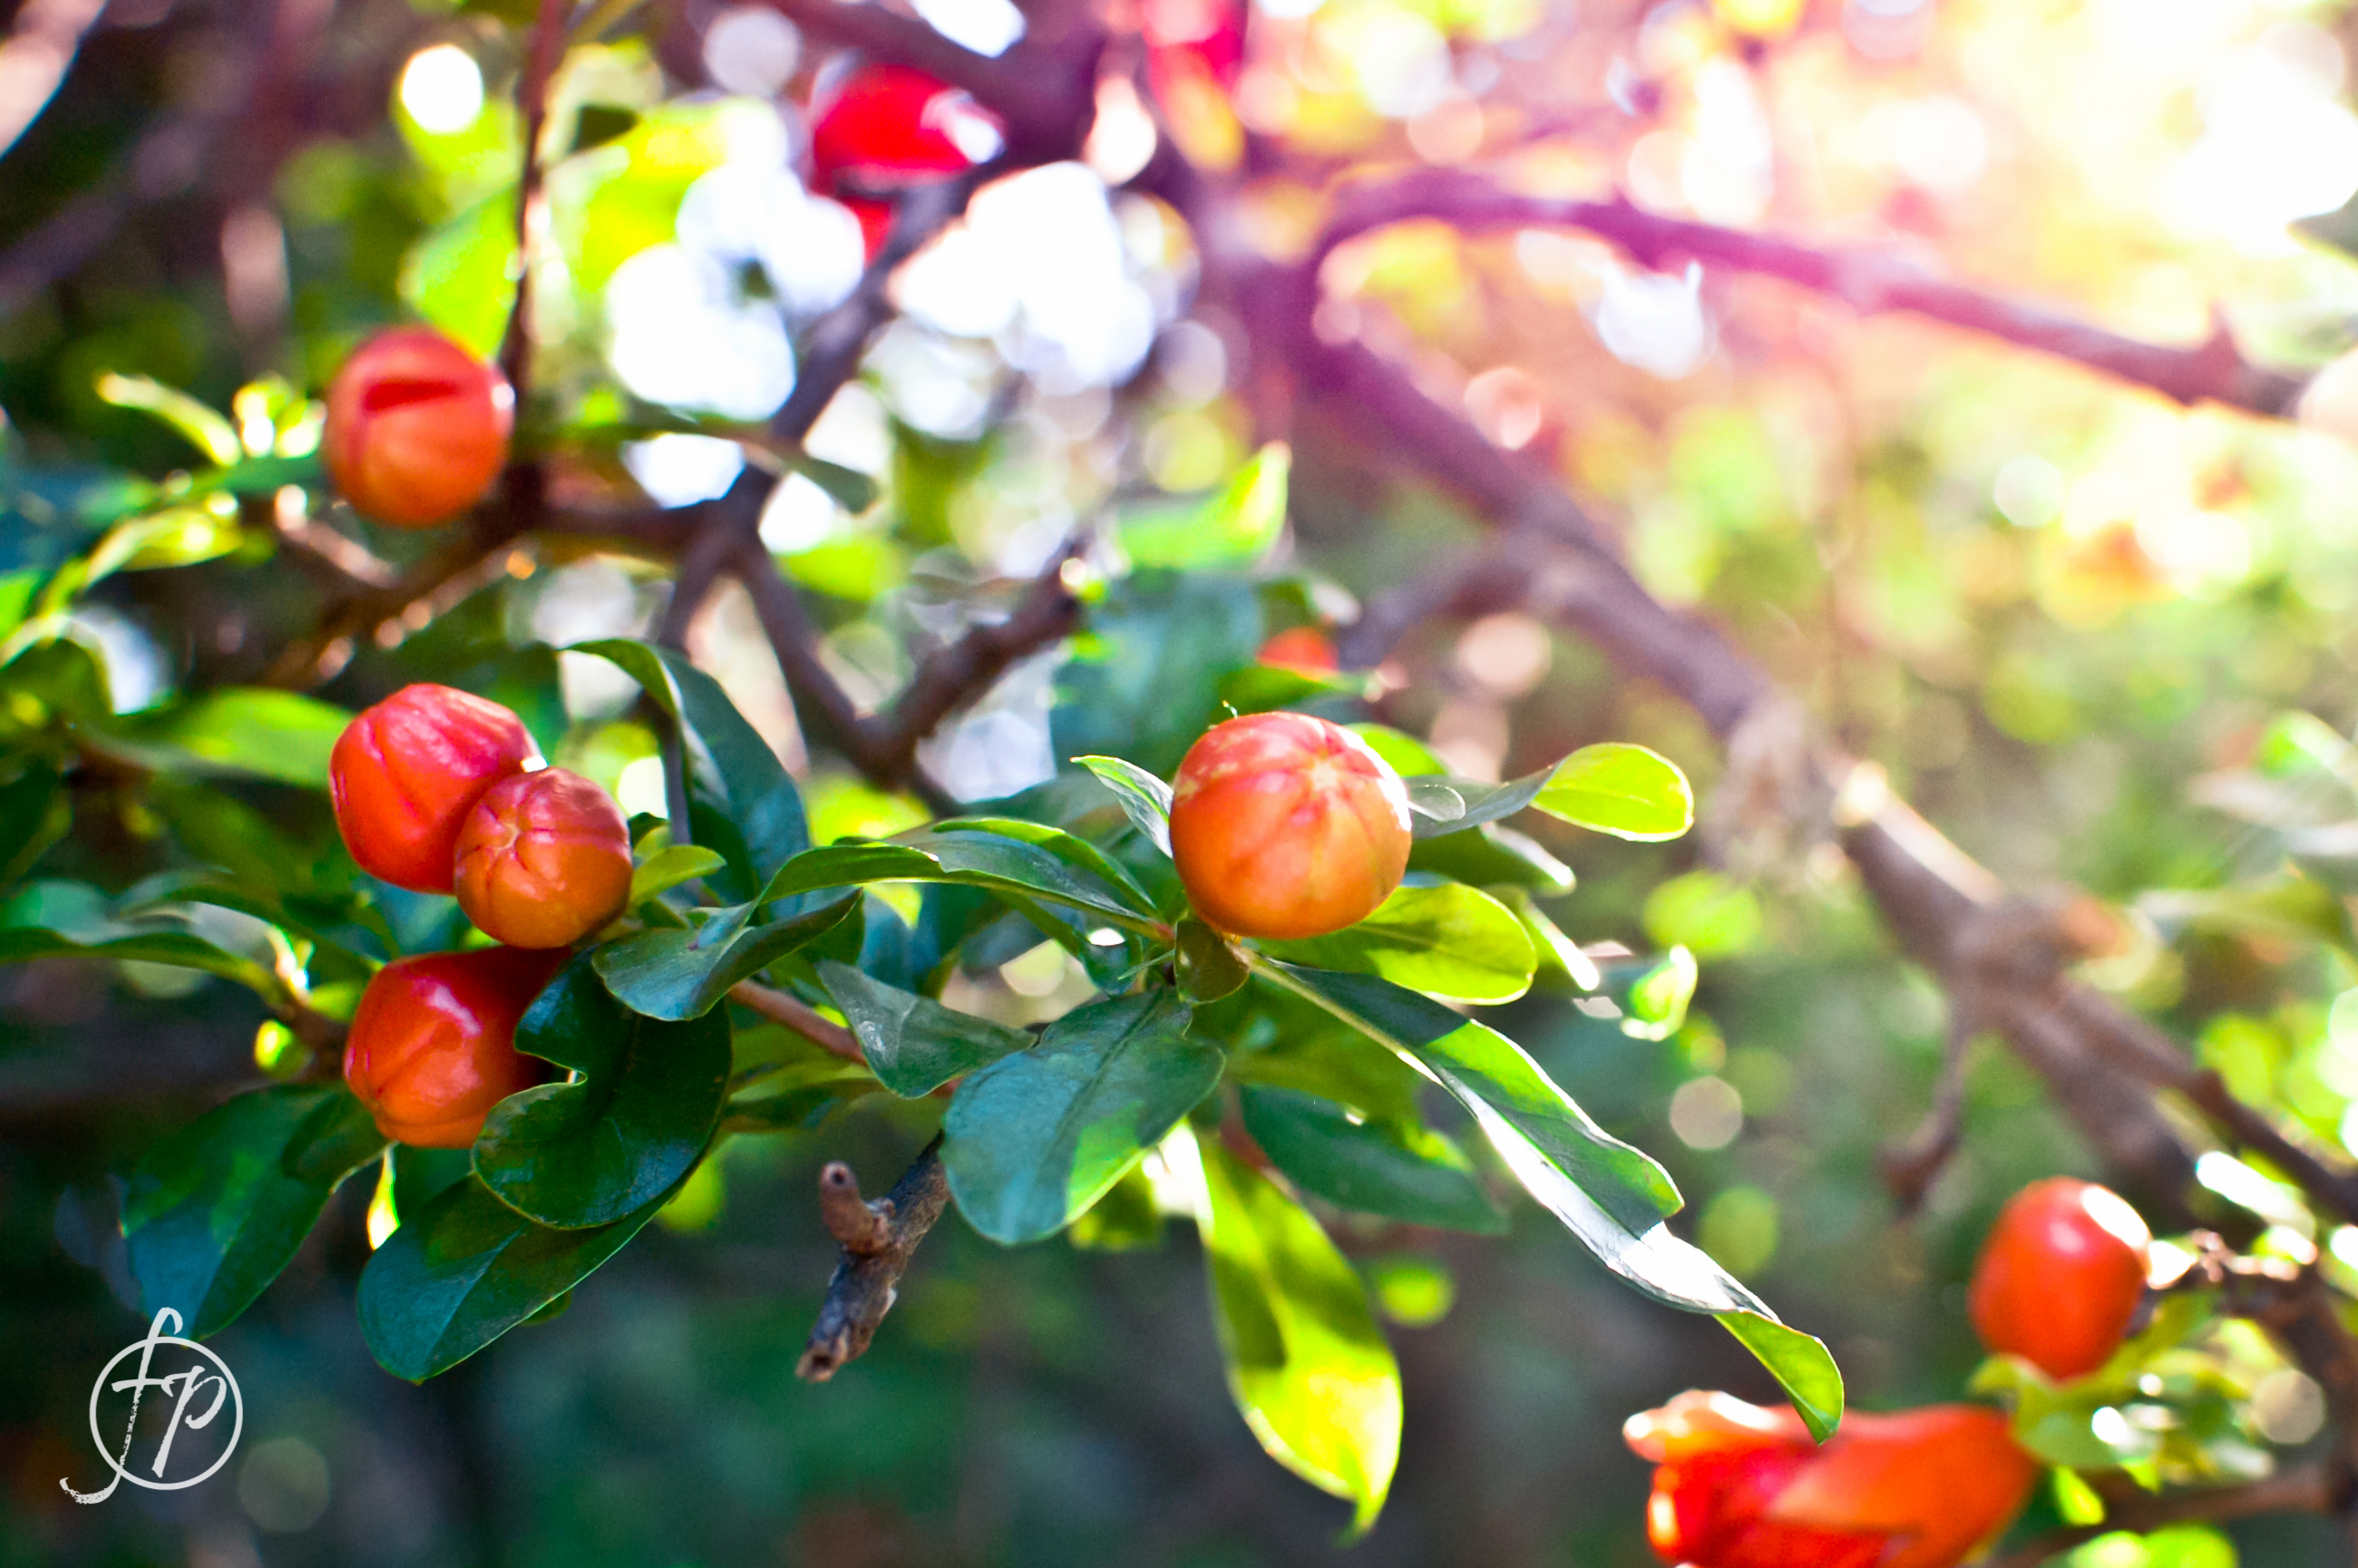
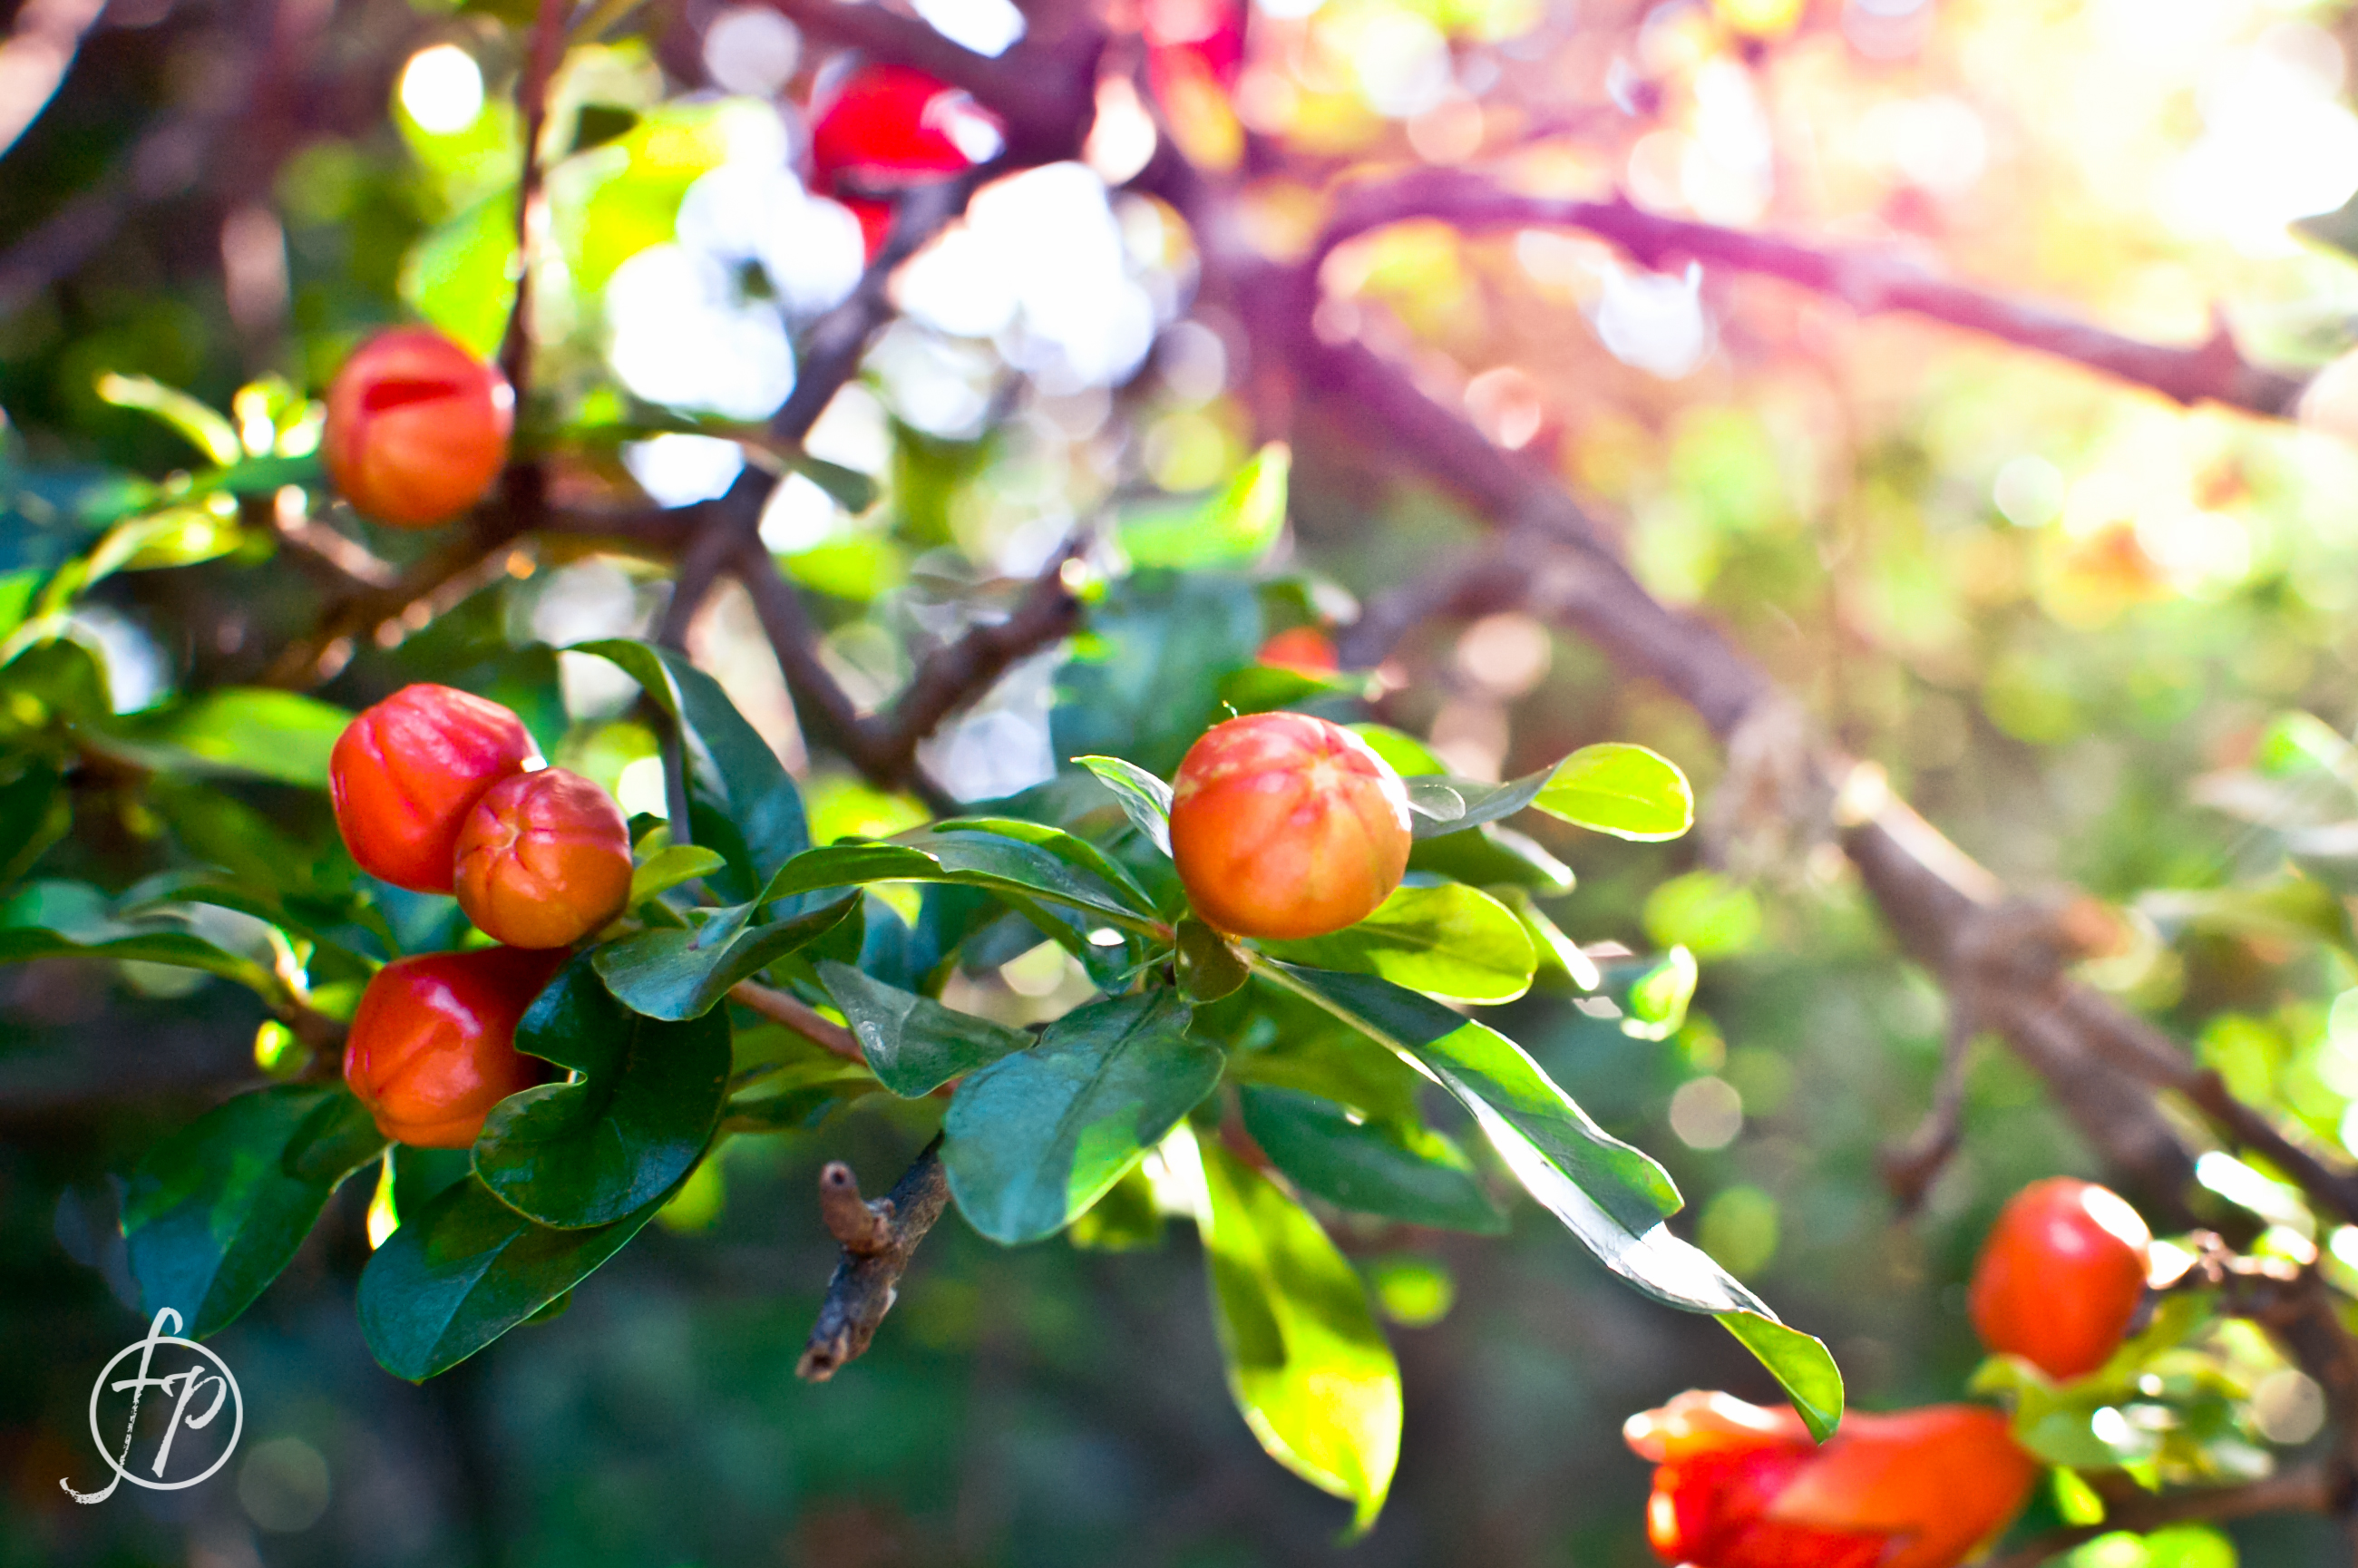
Since I finished editing the images of our trip to Zilker Botanical Garden first, these pictures will serve as an interim post until the blog entries about our trip to Europe. Compared to the Chicago Botanical Gardens, Austin’s Zilker Gardens don’t have a whole lot to offer. But it was a nice afternoon spent among the trees before Katie and I went to a University of Texas baseball game with some friends.


